


Hydroseeding checklist — everything you need to do before during and after your project
A hydroseeding project has three distinct phases — the preparation phase before the application the establishment phase immediately after and the first growing season phase that builds the foundation the lawn will perform from for years. Each phase has specific tasks that need to happen in a specific sequence. Missing any of them creates gaps that show up in the germination quality the establishment result or the long-term lawn performance.
This checklist covers every task in every phase — organized by timing so you always know what to do right now and what comes next. Work through it systematically and your project has every element in place for the best possible outcome.
Phase one: before the application
The preparation phase starts weeks before the application date and includes every task that creates the conditions the application needs to succeed.
Research and contractor selection — complete before scheduling anything.
Research the hydroseeding process thoroughly enough to understand what preparation is needed what questions to ask during the estimate and what the establishment timeline looks like for your grass type and season. This guide and the other resources on this site provide that foundation.
Contact multiple contractors and schedule site visit estimates — not phone quotes. Two to three written estimates from contractors who walked your property give you the comparison information needed to make a confident contractor selection. Look for specific product specification in the written estimates and clear answers to the questions covered in this guide.
Check contractor references from similar projects in the DFW area. A contractor with verifiable local experience and satisfied homeowners with projects like yours is the contractor whose recommendations are most trustworthy.
Confirm the estimate includes specific seed type mulch product site preparation scope and realistic establishment timeline. Sign the estimate only when all of these elements are clearly documented.
Soil and site assessment — complete as early as possible.
Walk the full yard and assess soil condition honestly. Hard surface underfoot indicates compaction. Poor drainage visible in low spots indicates grade correction need. Lack of organic matter and visible subsoil indicates topsoil addition need. Record your observations and bring them to the estimate conversation.
Check soil pH if the property has known alkalinity issues from construction adjacent foundation work or North Texas clay characteristics that run above the 7.0 range.
Identify all sections with shade conditions different from the full-sun sections and note whether the planned grass type is appropriate for each section's actual light exposure.
Dial 811 to have underground utilities located and marked before any grading or mechanical soil work. Do this early enough that the marks are in place before preparation equipment arrives.
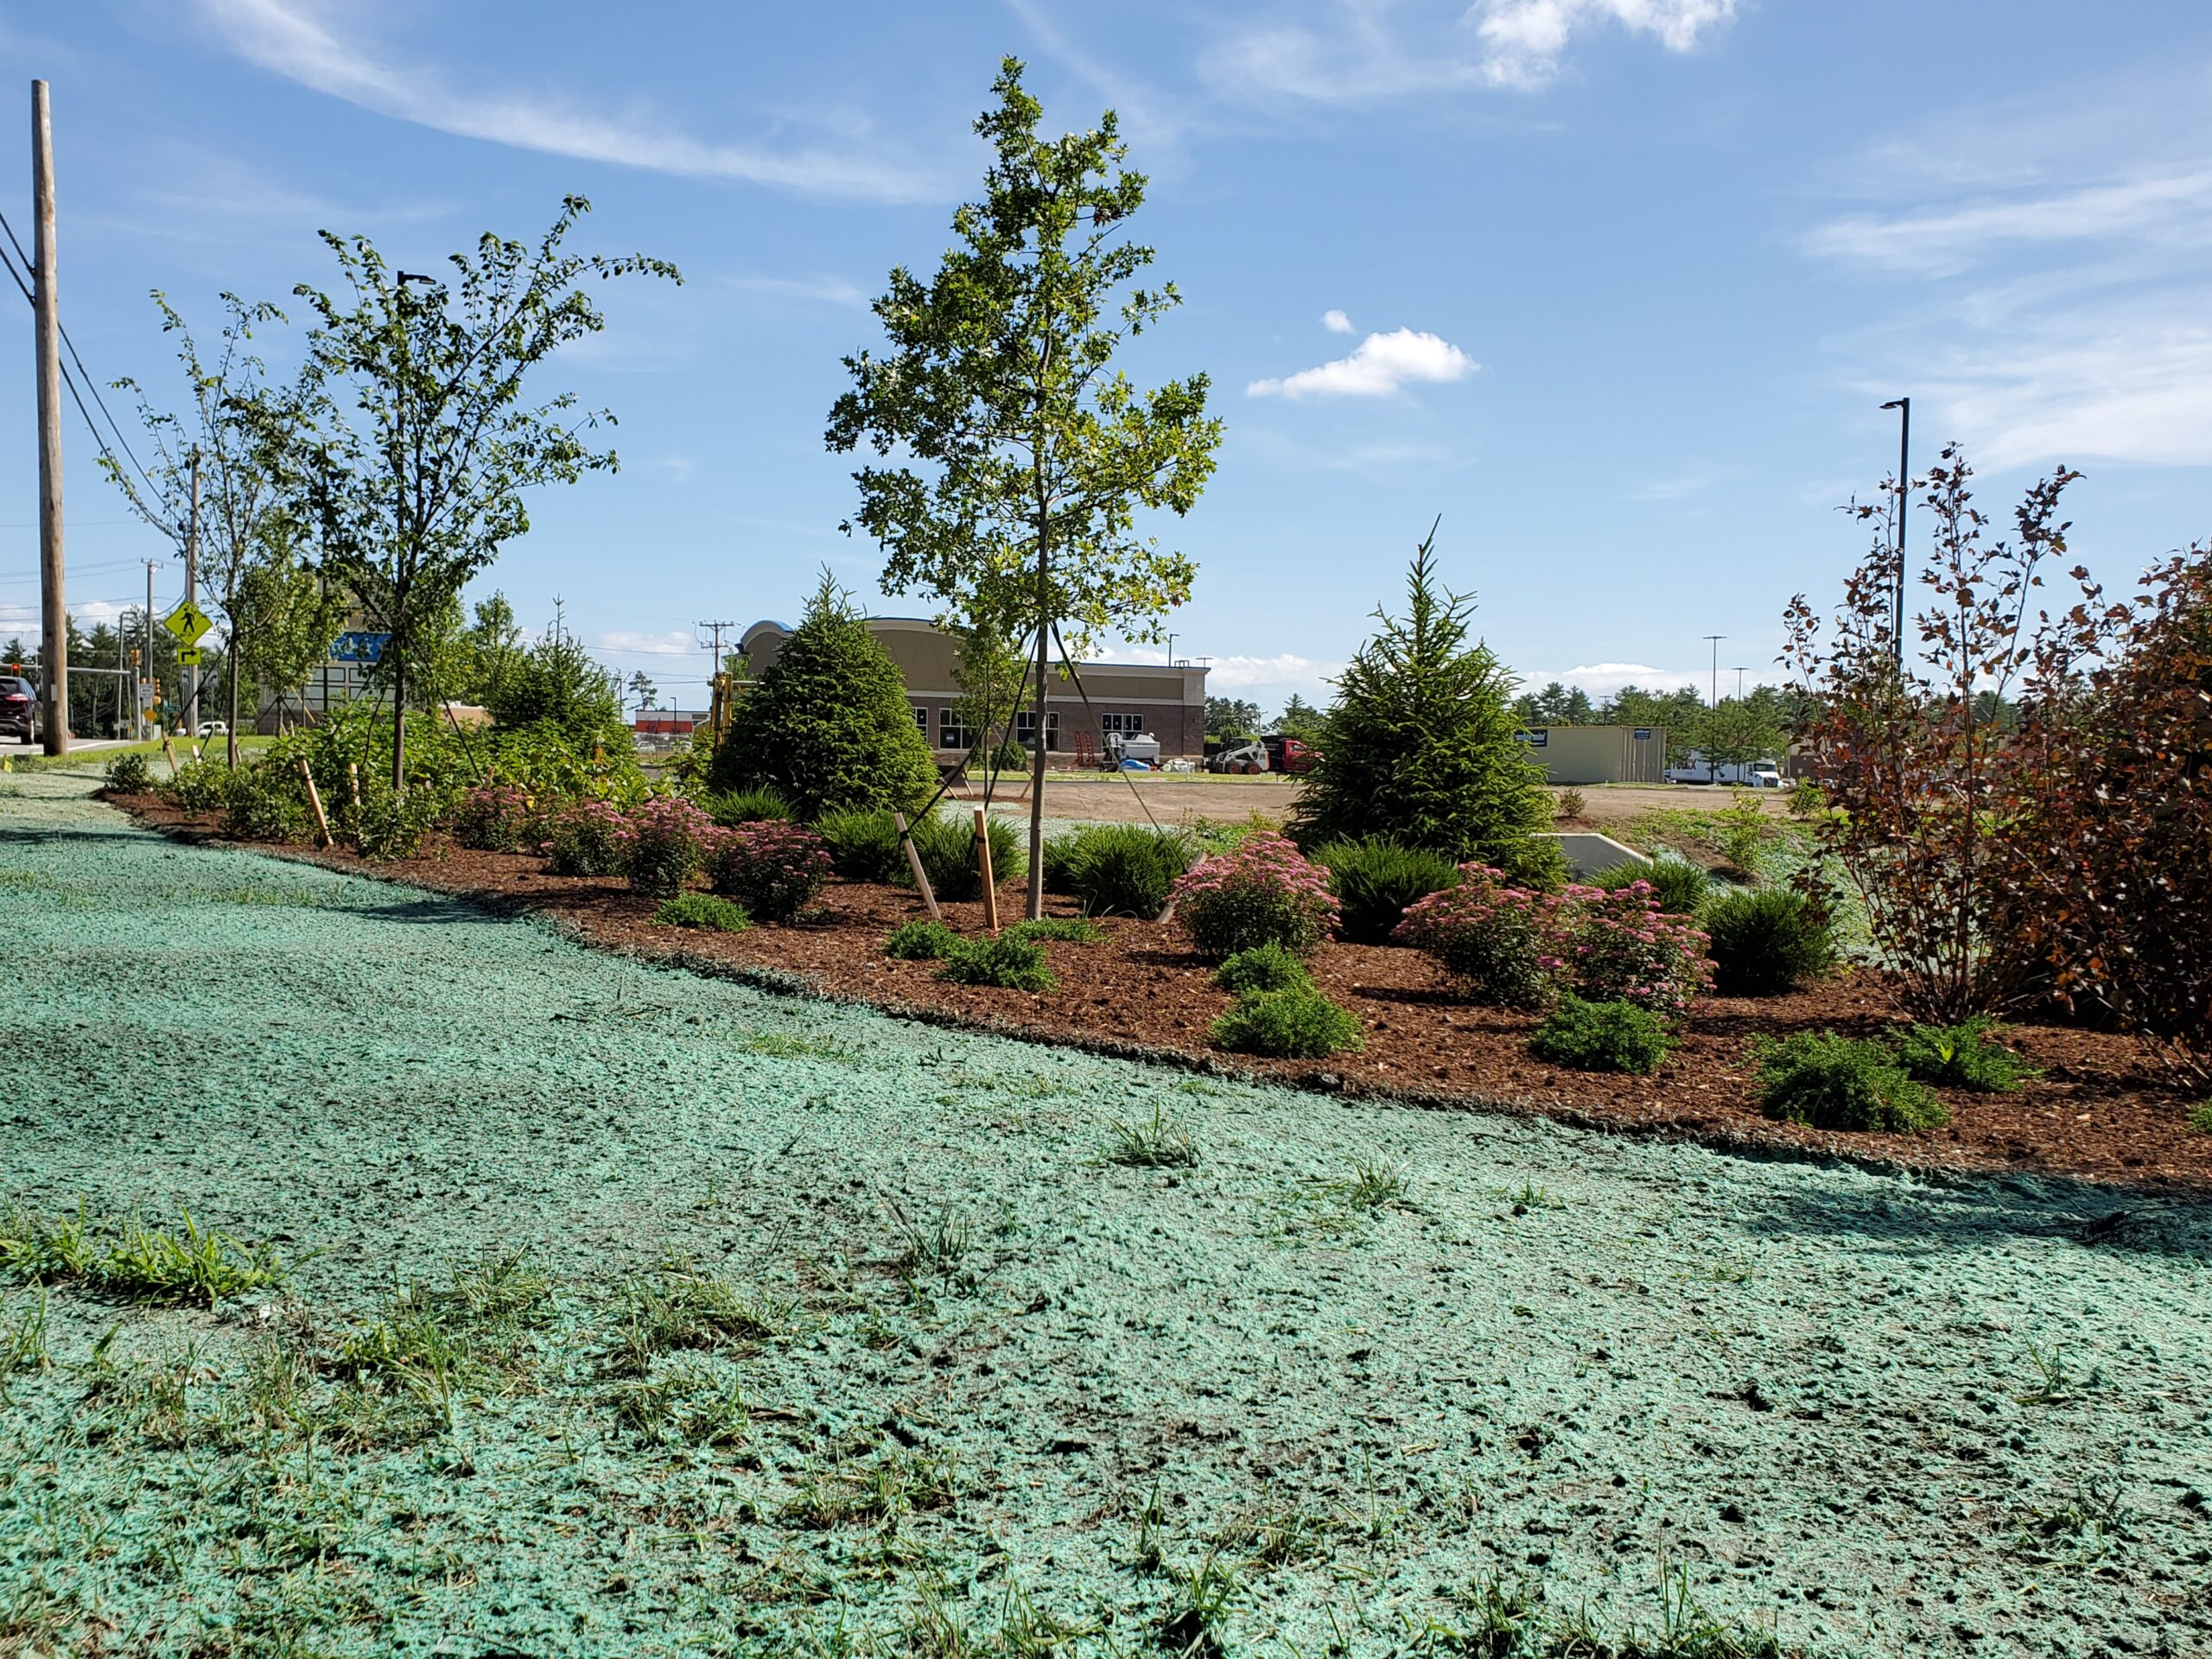
Site preparation tasks — complete before the application date.
Complete debris removal across the full application area. Two thorough walkthrough passes picking up rocks concrete chunks wire and construction material. Rake the surface during removal to expose subsurface debris not visible from above.
Kill or clear existing vegetation if needed. Non-selective herbicide at least two to three weeks before the application date — long enough for treated material to die back completely before seed goes down. Do not proceed if treated vegetation is still green.
Complete compaction relief work. Core aeration for moderate compaction. Skid steer tilling or deep ripping for severe compaction on new construction lots. Confirm the loosened depth is adequate for root penetration before scheduling the application.
Add topsoil if needed. Two to three inches of quality screened topsoil worked into the loosened surface on properties where the surface soil is stripped or depleted. Confirm the topsoil is blended into the loosened native soil rather than sitting as a layer on top of it.
Correct drainage problems. Fill low spots and establish positive drainage away from structures. Address any chronic drainage issues identified during the assessment before the application creates the irrigation demands that will reveal them.
Complete final grading to create a smooth even seed bed without significant low spots high spots or debris in the surface layer.
Irrigation preparation — complete before application day.
Walk every irrigation zone while the system runs and verify coverage across the full application area. Mark any coverage gaps non-functioning heads or areas of inadequate coverage.
Repair all irrigation problems before the application date. Coverage gaps during the germination window create bare sections — address them before the application not after.
Program the establishment schedule appropriate for the current season. Three times daily for summer applications two times daily for spring and fall applications. Confirm the schedule runs correctly and covers all zones.
Household preparation — complete before application day.
Establish alternative access routes around the application area for the full four-week establishment period. Identify and communicate these routes to all household members before application day.
Set up temporary pet management infrastructure. Temporary fencing designated alternative outdoor areas for dogs or supervised access protocols depending on your specific situation.
Communicate the establishment restrictions to all household members including children. The foot traffic restriction and the timeline for when normal access resumes.
Coordinate any other planned yard work that might affect the application area. Irrigation installation fence work landscaping or tree work — all of these should be completed before or scheduled after the establishment period.
Phase two: during the establishment period
The establishment phase covers the four to six weeks from application day through the first mow. Your primary role in this phase is consistent management of the watering schedule and protection of the developing lawn.
Application day tasks.
Be present for the application or arrange access for the contractor and confirm the access route is clear of vehicles obstacles and locked gates.
Walk the completed application with the contractor before they leave and confirm even coverage across the full area including edges corners and sections that required careful technique.
Get the aftercare information before the contractor leaves. Watering schedule specifics germination timeline foot traffic restriction period and the contractor's direct contact information for questions during establishment.
Run the first irrigation session within a few hours of the application if the contractor did not complete a final watering pass.
Days one through fourteen: germination window management.
Run the irrigation on the programmed establishment schedule every day without exception. Check the seed bed condition between sessions and adjust session frequency if the surface is drying out faster than the schedule is compensating for.
Keep all foot traffic and pets completely off the application area. Check the access routes and temporary fencing daily to confirm they are intact and functioning as intended.
Monitor the application surface for signs of inadequate moisture — cracking mulch pulling away from the soil lightening color. Increase session frequency immediately if these signs appear.
Monitor for washout damage after any rain event in the first 48 hours. Walk the full application area and look for bare channels on slopes or mulch accumulation in low spots. Contact the contractor immediately if significant displacement is visible.
Do not probe the mulch do not add additional seed do not change the application in any way. The process requires patience not intervention during the germination window.
Days seven through fourteen: germination monitoring.
Confirm that first sprouts are visible by days five through seven. Scattered sparse early germination is normal — widespread germination across most of the yard by days ten through fourteen is the expected pattern.
If no germination is visible by day twelve across the majority of the yard that received consistent watering contact the contractor for assessment.
Begin transitioning watering sessions from frequent shallow to slightly deeper and less frequent around day fourteen. The goal shifts from surface moisture maintenance for germination to encouraging root development downward.
Continue foot traffic and pet restriction through the full four-week window regardless of how established the lawn appears.
Weeks two through four: establishment progress.
Monitor germination spread and coverage development weekly. The lawn should look visibly more established each week through this window.
Continue the progressive watering depth transition — moving toward deeper less frequent sessions that penetrate progressively further into the soil profile.
Watch for any sections that are significantly behind the surrounding areas and note whether they correspond to identifiable conditions — shade coverage gaps in the irrigation drainage accumulation — that explain the delayed germination.
Contact the contractor for a touchup assessment if significant sections show no germination by day twenty-one.
First mow preparation.
Confirm the grass has reached three to four inches across the majority of the lawn before scheduling the first mow. Do not mow early sections while late-germinating sections are still below mow height.
Sharpen the mower blade before the first mow. A dull blade tears rather than cuts — creating the ragged brown tips that signal blade damage rather than drought or disease.
Set the mowing height to two and a half to three inches minimum for the first several mowing sessions. Do not cut shorter than appropriate for the grass type in the first mowing sessions.
Mow when the ground is dry and firm — not after irrigation or rain when the soft soil surface is vulnerable to wheel compaction.
Phase three: first growing season management
The first growing season phase covers the period from first mow through the first dormancy — the window when the root development that determines the lawn's long-term performance either happens or does not.
Irrigation progression through the growing season.
Continue deepening irrigation sessions through the spring and early summer — each week's sessions should penetrate slightly deeper than the previous week's as the root system develops the depth to access and use that deeper moisture.
Transition to the mature lawn schedule — one to two deep sessions per week for established Bermuda in the DFW area — by weeks six to eight after the application. Monitor for drought stress signals and adjust frequency during heat waves or extended dry stretches.
Maintain the mature lawn watering schedule through the first summer — prioritizing root depth development over surface appearance during the most demanding weeks.
Fertilization schedule.
The starter fertilizer in the hydroseeding slurry provides nutrition through the first four to six weeks. After that begin the seasonal fertilization program appropriate for the grass type — nitrogen-focused applications during active Bermuda growth in late spring and mid-summer at appropriate rates.
Do not over-fertilize — appropriate rates support root development and density. Excessive nitrogen pushes top growth at the expense of root development and increases disease susceptibility.
Weed management.
Do not apply pre-emergent or post-emergent herbicides within eight to twelve weeks of the hydroseeding application. Allow the lawn to reach the three to four mowing milestone before any selective herbicide application.
Manage weeds that appear during establishment through mowing rather than chemical treatment until the lawn is mature enough for selective herbicide use.
First-season aeration.
Schedule core aeration in the first active growing season — late spring to early summer for Bermudagrass in the DFW area. Aeration in the first growing season begins the progressive soil structure improvement that compounds through subsequent seasons.
Follow aeration with compost topdressing that works into the aeration holes — building organic matter in the clay profile at a depth that surface application cannot reach.
Fall dormancy preparation.
Reduce fertilization in October — avoid high-nitrogen applications within six weeks of the expected first freeze.
Reduce irrigation frequency as Bermuda approaches dormancy — transitioning from active growing season schedule to dormancy maintenance of occasional deep watering every two to three weeks.
Complete the mid-fall assessment — identify any sections that need spring renovation attention and schedule the contractor conversation for late winter to ensure spring calendar availability.
The checklist at a glance
Before the application: contractor research and selection soil assessment site preparation compaction relief topsoil addition drainage correction irrigation verification household communication.
During establishment: application day walkthrough aftercare information first irrigation watering schedule consistency foot traffic restriction germination monitoring progressive watering depth transition first mow preparation.
First growing season: irrigation depth progression seasonal fertilization weed management timing first-season aeration fall dormancy preparation spring renovation planning.
The bottom line on the complete hydroseeding checklist
Every item on this checklist exists because its absence has produced a specific problem in a hydroseeding project somewhere. The preparation items produce the establishment failures that skipped preparation always produces. The establishment items produce the germination problems that inadequate management always produces. The first growing season items produce the shallow-rooted summer-struggling lawn that inadequate first-year management always produces.
Work through the checklist completely and sequentially and your project has every element in place for the best possible outcome. Skip items and the outcome reflects the skip.

Want to make sure every item on this checklist is in place for your hydroseeding project?
Fox Hydroseeding LLC walks every homeowner through the preparation expectations aftercare requirements and first growing season management before leaving the job site. We make sure every phase of the project is set up for success.
Get Your Free Estimate → foxhydroseeding.com/contact
Bring Your Property to Life With Expert Hydroseeding
Find Us On


